React: LinkedIn Access Token in 10 Steps

I recently integrated with the LinkedIn API, and it turned out to be pretty straightforward. The task was to retrieve the user’s email address from LinkedIn. To achieve this, I primarily used two endpoints:
-
https://api.linkedin.com/oauth/v2/authorization
-
https://www.linkedin.com/oauth/v2/accessToken
Links
Prerequisite
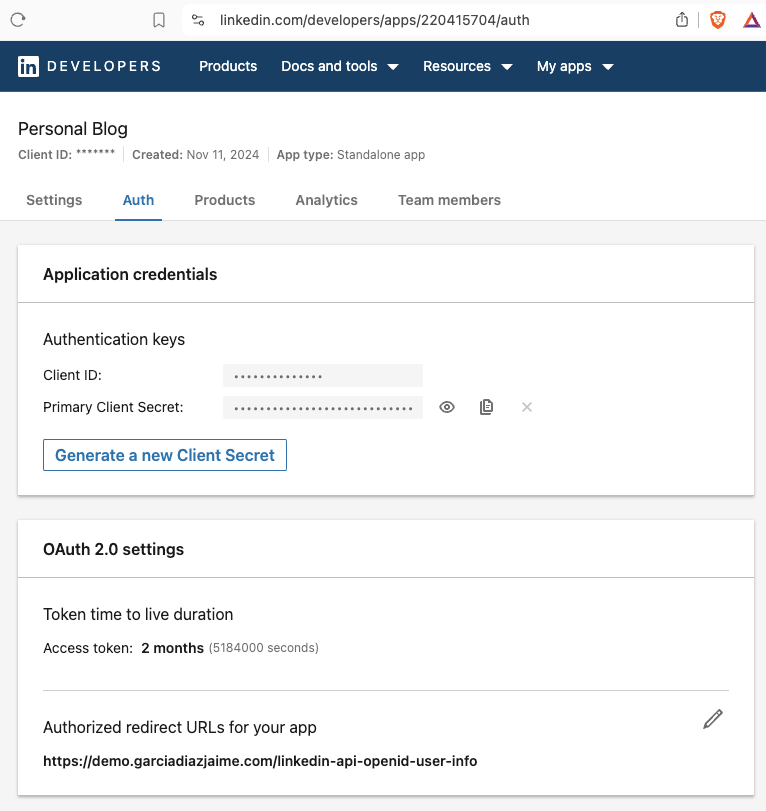
To get this working, you’ll need a LinkedIn App, which is easy to set up via the LinkedIn Developer Portal. Once created, your app will provide:
- Client ID: A unique identifier for your app.
- Client Secret: Used for secure communication between your app and LinkedIn.
Additionally, you’ll need to set up a Redirect URL. This is where LinkedIn sends the authorization code after the user approves your app

How to Get a LinkedIn Access Token in 10 Steps
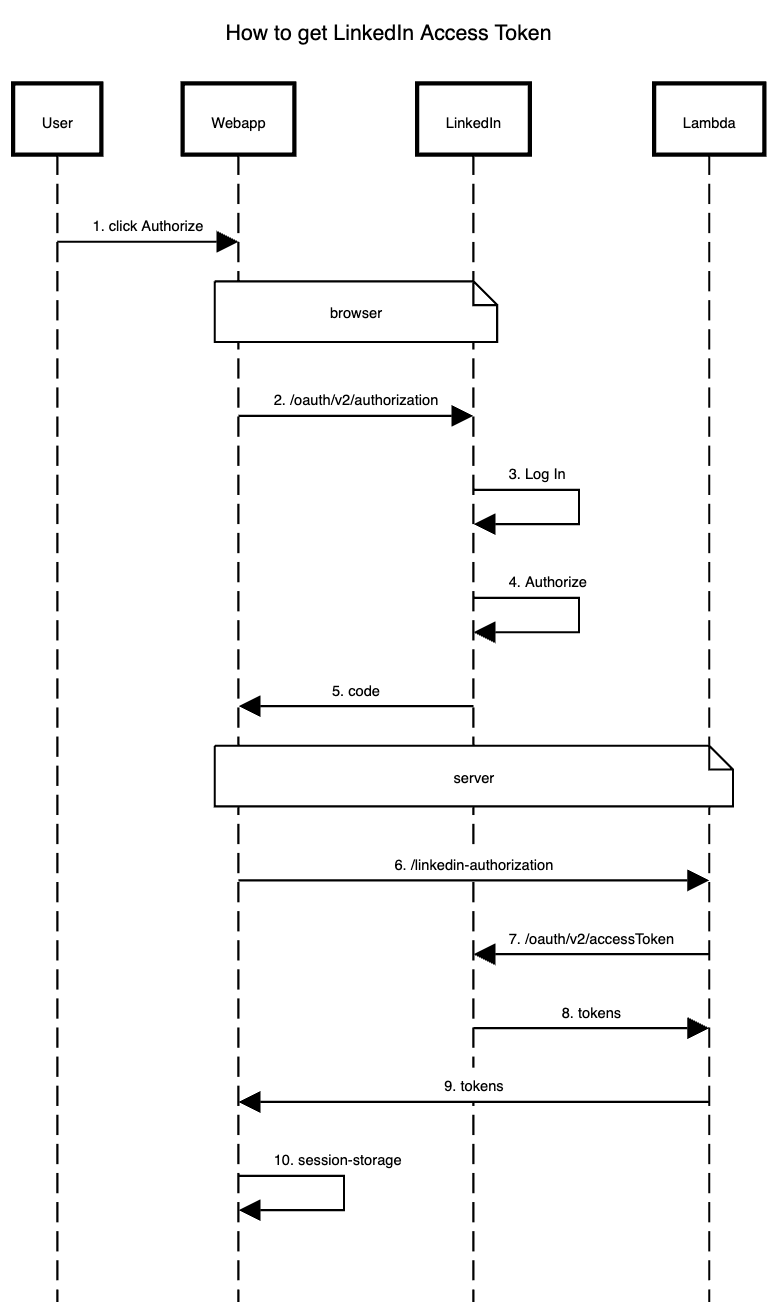
Two endpoints, right? But to make it all work, there are at least 10 steps involved. Take a look at the sequence diagram:

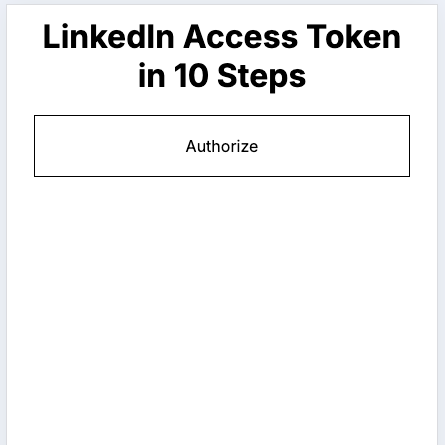
Step 1: User clicks the Authorize button.

Step 2: The web application redirects the user to LinkedIn.
You need to redirect the user to:
https://api.linkedin.com/oauth/v2/authorization?response_type=code&client_id=${CLIENT_ID}&redirect_uri=${REDIRECT_URI}&scope=profile%20email%20openid
Replace CLIENT_ID and REDIRECT_URI with your values defined in the developer portal.
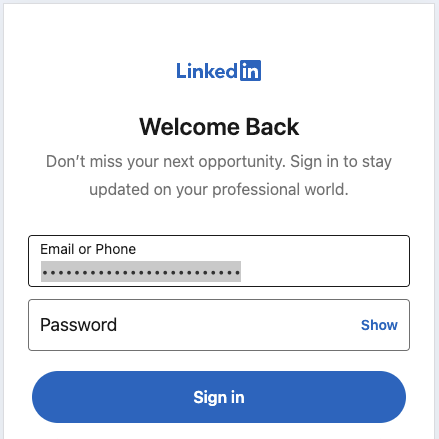
Step 3: LinkedIn asks the user to log in

Step 4: LinkedIn asks the user to authorize the web application
Step 5: LinkedIn sends the user to the redirect URL.
In my case, the final redirect URL looks like this:
https://demo.garciadiazjaime.com/linkedin-api-openid-user-info?code=AQSWHfrKRe6Zvr-fSccBQl2FfpxdkPxx6penQgLAFuNWVXviCb2qmtuCdy9czV-vZIqIczV-4UQNcKuRQk1qMgA3c13CdPpGHxdItcpqMuMmJsksxXYLOohcBF7jaAAqA6nKMq6pXsLH5-itSnyGdnWVIDc1v1ynAzckv-DCOn1gP6lkQf8aWu3CM5E79Zoh8PmHS3_eWT0LymNSM7U
Notice how the code query parameter is passed. This is important because it will be used in the next step when requesting the access token.
Step 6: The web application passes the code to a Lambda function
The reason for using a Lambda function here is that the next step involves requesting an access token, which requires passing the Client ID and Client Secret. Since these credentials should remain secure, this step needs to be handled in a backend-like environment.
Step 7: Lambda Function Requests an Access Token from LinkedIn
Take a look at the code:
const { code } = JSON.parse(event.body);

const config = {
  grant_type: "authorization_code",
  code,
  client_id: LINKEDIN_CLIENT_ID,
  client_secret: LINKEDIN_CLIENT_SECRET,
  redirect_uri: LINKEDIN_REDIRECT,
};

const response = await fetch(`https://www.linkedin.com/oauth/v2/accessToken`, {
  method: "POST",
  headers: {
    "Content-Type": "application/x-www-form-urlencoded",
  },
  body: new URLSearchParams(config),
});
Step 8. LinkedIn returns the token to the Lambda function
Step 9. Lambda function returns the token to the web application
Step 10. Web application receives the token
The LinkedIn response for the oauth/v2/accessToken endpoint typically looks like this:
{
  access_token:"...access_token...",
  expires_in: 5183999,
  scope: "email,openid,profile",
  token_type: "Bearer",
  id_token:
    "eyJ6aXAiOiJSUzI1NiIsInR5cCI6IkpXVCIsImtpZCI6ImQ5Mjk2NjhhLWJhYjEtNGM2OS05NTk4LTQzNzMxNDk3MjNmZiIsImFsZyI6IlJTMjU2In0.eyJpc3MiOiJodHRwczovL3d3dy5saW5rZWRpbi5jb20vb2F1dGgiLCJhdWQiOiI4NmNtemNrN2k2dG5tOCIsImlhdCI6MTczMTg4MDM1MCwiZXhwIjoxNzMxODgzOTUwLCJzdWIiOiJlbTVqVXhDcEh4IiwibmFtZSI6IkphaW1lIEdhcmNpYSBEaWF6IiwiZ2l2ZW5fbmFtZSI6IkphaW1lIiwiZmFtaWx5X25hbWUiOiJHYXJjaWEgRGlheiIsInBpY3R1cmUiOiJodHRwczovL21lZGlhLmxpY2RuLmNvbS9kbXMvaW1hZ2UvdjIvQzU2MDNBUUhnYWc5TVNUUDNGQS9wcm9maWxlLWRpc3BsYXlwaG90by1zaHJpbmtfMTAwXzEwMC9wcm9maWxlLWRpc3BsYXlwaG90by1zaHJpbmtfMTAwXzEwMC8wLzE2NjA5MzcwNTQ2MTg_ZT0yMTQ3NDgzNjQ3JnY9YmV0YSZ0PXpuRWFMUS1vSVRYVl9LT3B5aFZGcDRfUHVLd0JabGx5VGRjNTc3ZDBoWXciLCJlbWFpbCI6ImdhcmNpYWRpYXpqYWltZUBnbWFpbC5jb20iLCJlbWFpbF92ZXJpZmllZCI6InRydWUiLCJsb2NhbGUiOiJlbl9VUyJ9...",
};
Notice how id_token is included in the response, and this is a JWT (JSON Web Token). If you decode it, you’ll get something like this:
import { jwtDecode } from "jwt-decode";

jwtDecode(jwt);
which among other things it outputs:
{
  "email": "[email protected]",
  "given_name": "name",
  ...
}
For my use case, the email field is exactly what I needed. Now that you have the access token, you can also use it to make requests to the LinkedIn REST API, like this:
const response = await fetch(`https://api.linkedin.com/v2/userinfo`, {
  method: "GET",
  headers: {
    Authorization: access_token,
  },
});

const user = await response.json();
It’ll give you basically the same info as in the JWT token, but now that you have the access token, you can use it to access any of LinkedIn’s other endpoints.
Conclusion
Overall, integrating with LinkedIn’s RESTful API was pretty straightforward. One thing to keep in mind is that the process is split between the client and server: the client handles redirecting the user to LinkedIn for authentication and authorization, while the server is responsible for interacting with LinkedIn’s API and passing the ClientId and ClientSecret which should not be exposed in your client application.